This post contains a few affiliate links to products I loved and used while stripping and refinishing all of the school doors! Things you buy through some links may earn a commission that will go straight into fixing up the schoolhouse!
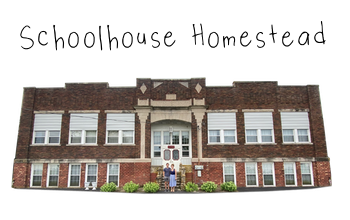
When we first bought this school 2 years ago to turn it into our house, I knew that this undertaking was going to be a never-ending stream of projects. One of the first projects I started working on since moving back to Indiana from the east coast, has been refinishing and restoring all of the original doors to the school… We also got some extra doors for the new rooms we’re building.
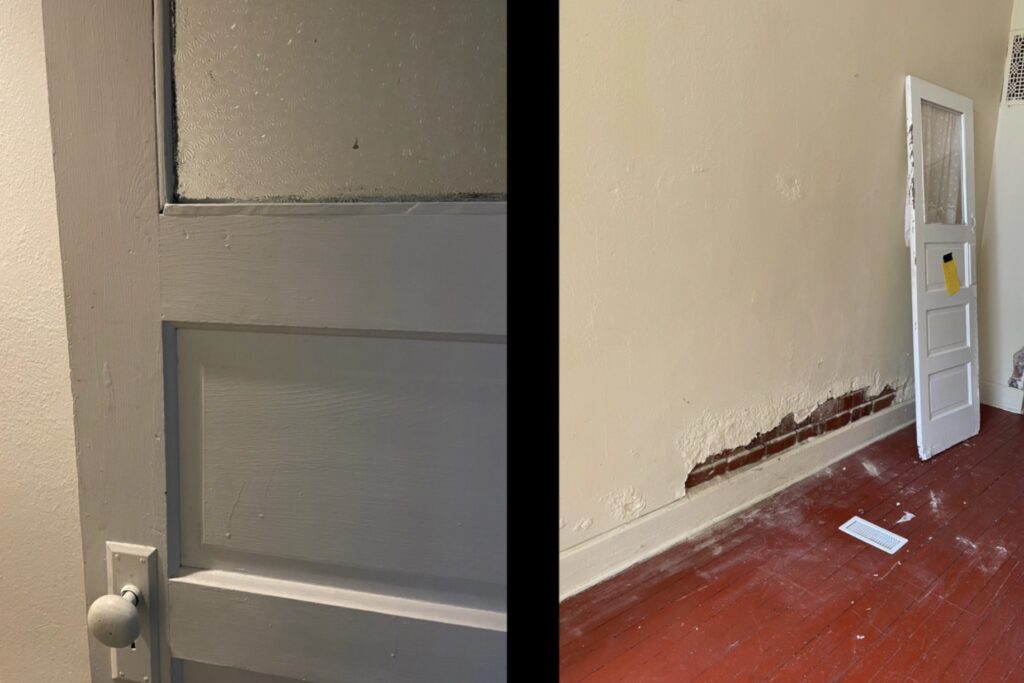
When we bought the school, all of the doors inside were painted with many layers of paint. I’ve learned how to strip and refinish furniture from my dad, who is an incredible teacher. This door undertaking was intense, even by his standards.
Here are all the products I used to finish this project, broken out by the step they were used with!
FULL LIST OF PRODUCTS:
- Stripping
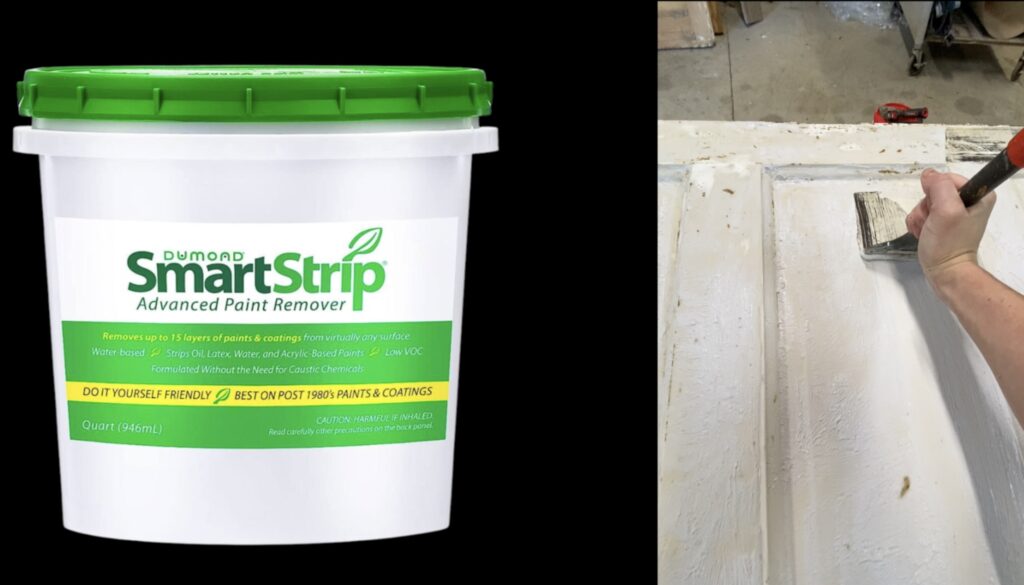
- Smart Strip (For things with many layers of paint)
- QCS Stripwell (For furniture and varnish, don’t use on doors.)
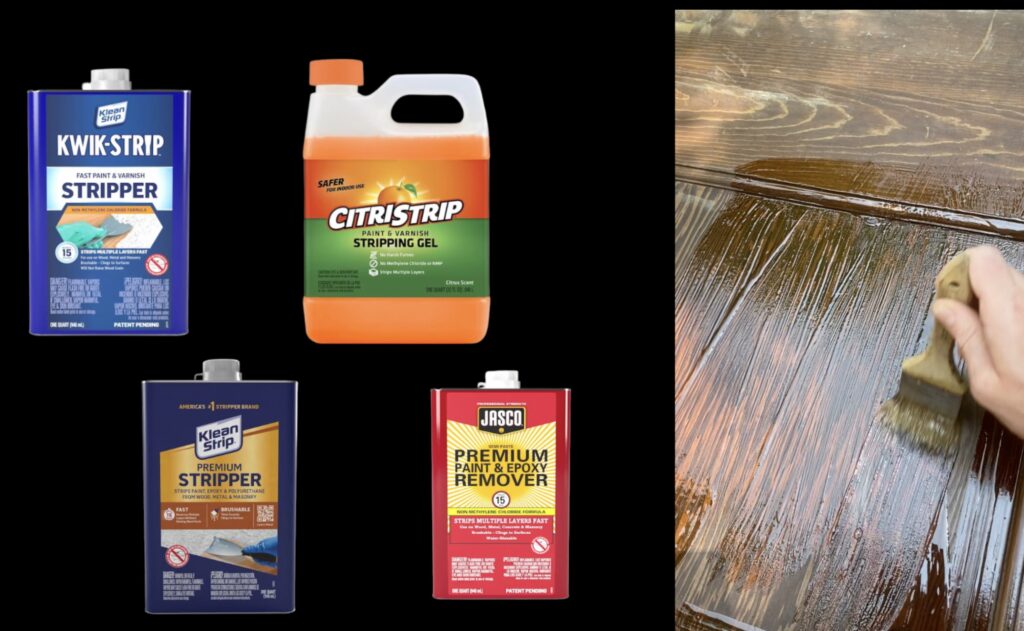
- Citristrip, Kwikstrip, Klean Strip- anything from hardware store for varnish, not paint
- Scrapers (wide razor scraper, scraper for corners and trim)
- Pressure washer (Only for solid wood doors, do not use on veneer.)
- Lead testing strips
- Sanding & Repairs
- Festool sander with rectangle orbital, regular orbital, and Rotex attachments, but super pricey. A mouse sander, + an orbital sander are also fine
- Sand o Flex, recommend this with a corded drill.
- Surf prep attachment for the Festool
- Plastic Wood wood filler
- Blendal Finishing Sticks (WOW were these an incredible discovery.)
- Titebond wood glue + many Irwin clamps
- Staining
- Minwax Pre-Stain Wood Conditioner
- Minwax stain color of your choice (PS- your local Sherwin Williams store usually has better deals on these products vs online)
- Lacquering
- Sher-Wood Moisture Resistant Lacquer in Medium Rubbed effect (Go to your local store for this!)
- Apollo Sprayer and gun (We have the Apollo 800, which I’ve seen on Ebay for ~$500)
STEP 1: STRIPPING
For doors with light varnish and thin layers of paint, I used Kwikstrip, Citristrip, and any of the faster products you can get at the hardware store. I also tried this newer nontoxic product called QCS Stripwell, and it was super interesting. It’s pretty pricey though, so I think I’ll stick to using QCS on furniture, and definitely not paint.
For the doors that had multiple layers of paint: I used Sherwin Williams Smart Strip. This product is made for the things with newer paints like latex and acrylic. It’s THICK and usually it took off the paint in one strip session which was awesome. The Smart Strip needs to sit on the doors for many hours, and you can’t let it dry out. You can use Saran Wrap, old newspapers, or the special paper they sell to seal the stripper and let it do its work.
Also just one note: There is another product out there called Peel Away that us meant for pre-1980 paints and lead-based paints, but I luckily did not have to deal with that because I tested all of my doors with these lead testing strips just to make sure.
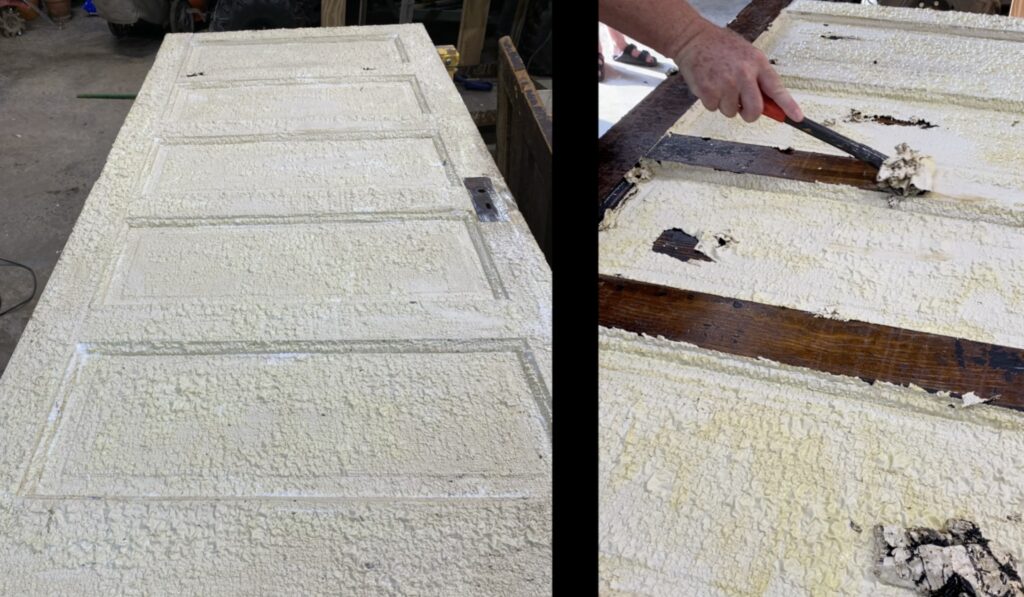
Step 2: Scraping & Repairs
After I let the stripper do its work, I would scrape off all the chemicals I could and dispose of them. I used a couple different scrapers, this wide razor scraper was super helpful for the flat parts, and then this scraper was great for corners and trim.
Then, if there was some stubborn paint or varnish in the corners and cracks, I’d also use a pressure washer to do a final clean. I wouldn’t do the pressure washing on doors with veneer, because it can be pretty intense on the wood. But these doors were solid wood and so damaged that I planned to do a huge sanding session anyway.
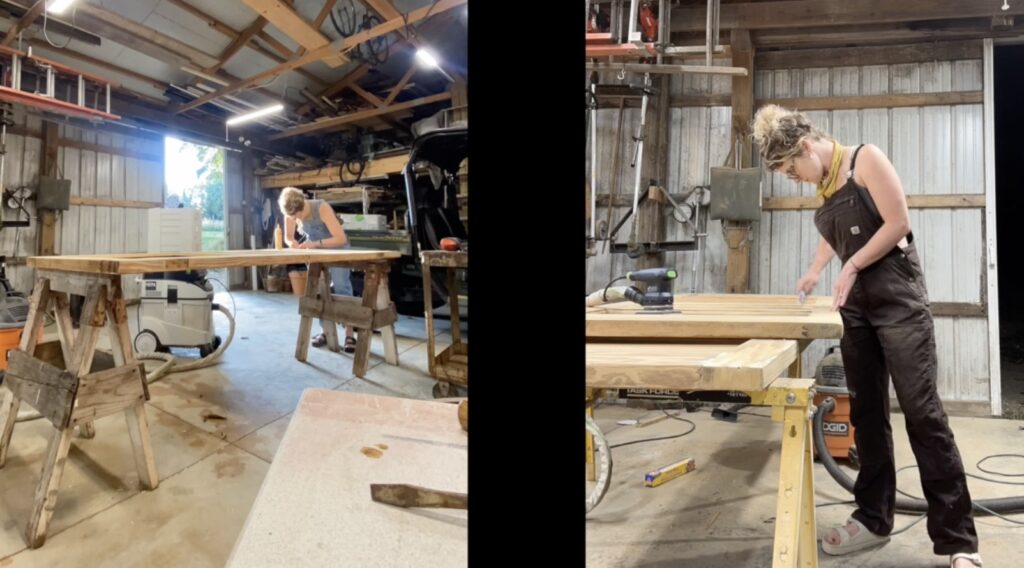
STEP 3: SANDING
After stripping and repairing all the doors, I got to sanding. This was probably the most time-consuming step of all, but it’s pretty mindless and satisfying. For the tools I used- this is where it comes in handy that my dad and brother are serious woodworkers. A couple years ago they bought this incredible Festool sander which kind of blew my mind. It’s got a HEPA vac attached to the sanding heads and it’s just incredible because there’s NO DUST. Literally I could have sanded inside the house with this thing. (If you don’t feel like investing in this crazy tool, a mouse sander, + an orbital sander are also fine.)
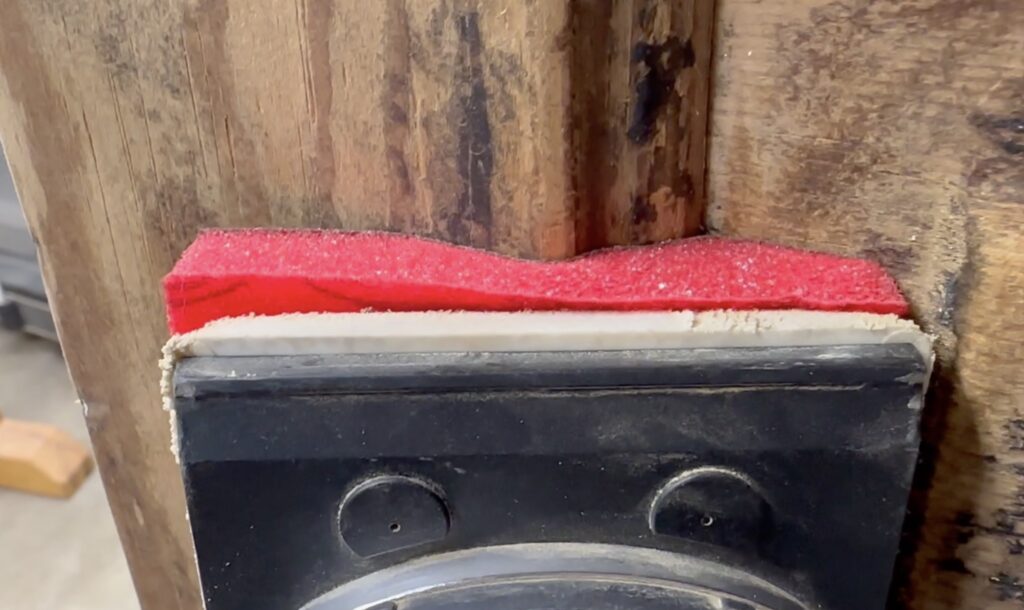
The thing that drove me the most crazy were definitely sanding the fiddly bits of the trim, and I did use a couple hacks to sand those. One tool I kept going to was the trusty old Sand o Flex that attaches to a drill. (Recommend a corded drill for that.)
I also bought these spongey attachments for the Festool from a place called Surf Prep. Both of these tools I liked a lot, and neither were a magic bullet when it came to sanding trim, but they do beat the heck out of hand sanding with a piece of paper.
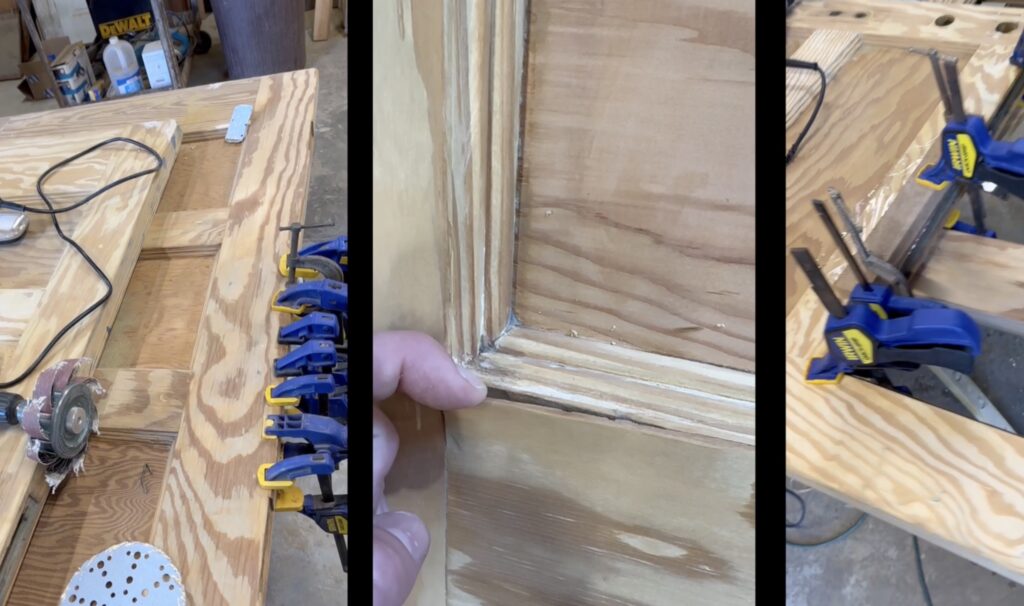
And then for the repairs- I used Plastic Wood wood filler for holes, Titebond wood glue + many Irwin clamps for cracks and veneer repairs.
STEP 4: STAINING
Ok this step I love. I started by prepping my doors with Minwax Pre-Stain Wood Conditioner. The pre stain isn’t completely necessary, but it penetrates the grain of the wood to help you get uniform acceptance of the stain. Because these doors are huge, I used this to make sure I got the most uniform stain look possible.
Then I used Minwax’s Honey & Provincial stains on all these doors. There is a variety of wood in here, and they all accepted the color a bit differently, but I was so delighted in getting this step done.
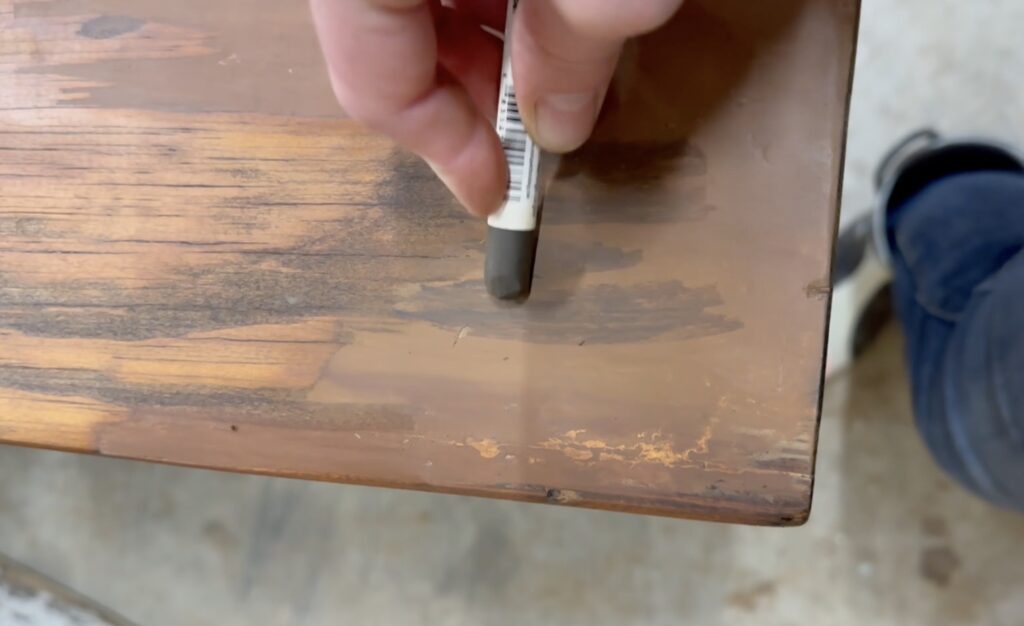
One incredible product discovery I found were these Blendal Finishing Sticks that help you hide any blemishes in the wood after you’ve stained your project. I had to use some wood filler in different spots, and these sticks helped disguise those spots incredibly well. You basically shade in the grain of wood over the filler, smudge it to make it more natural, and then once you lacquer, you’ll never be able to tell that there used to be a huge chunk of wood missing!
STEP 5: LACQUER
This was a huge step. I ended up using 6 gallons of Sherwin Williams’ Sherwood lacquer. This was my first time using this lacquer and I was super impressed by it because it didn’t clog the sprayer quickly, and there were not many drips I had to sand out.
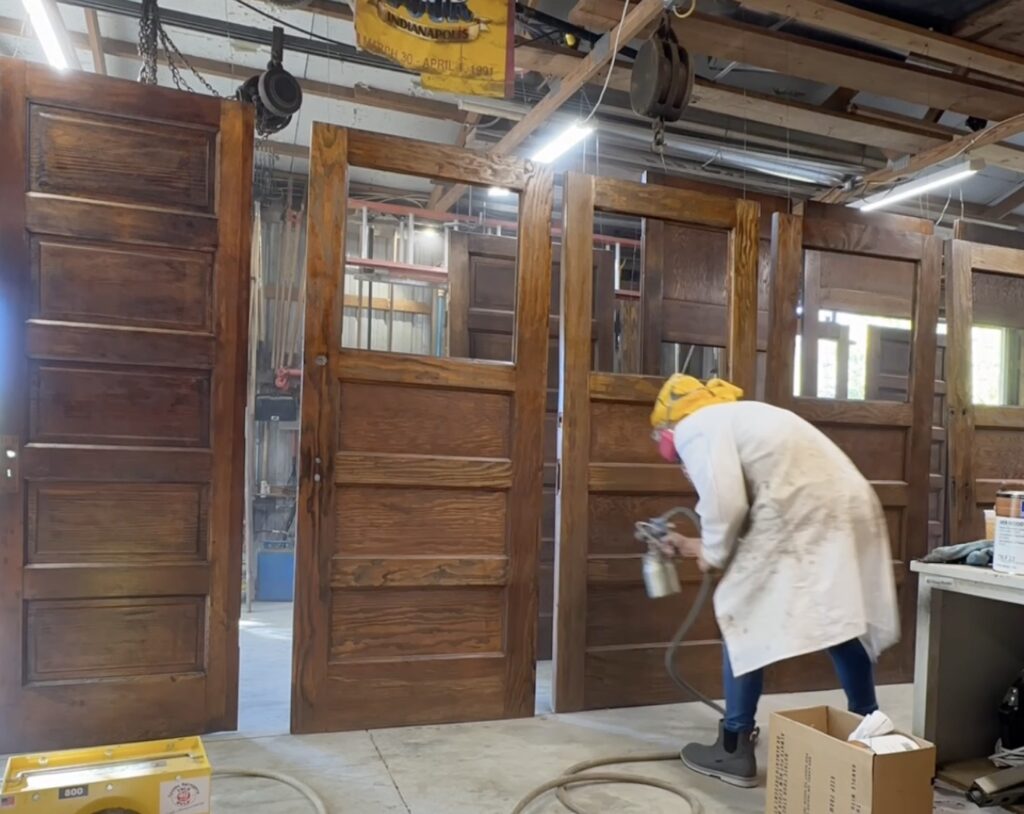
This step again, was boosted by my dad’s amazing tools. I used his Apollo Sprayer and gun. This setup is pretty expensive if you buy it new, but my dad got his at an auction for a couple hundred bucks.
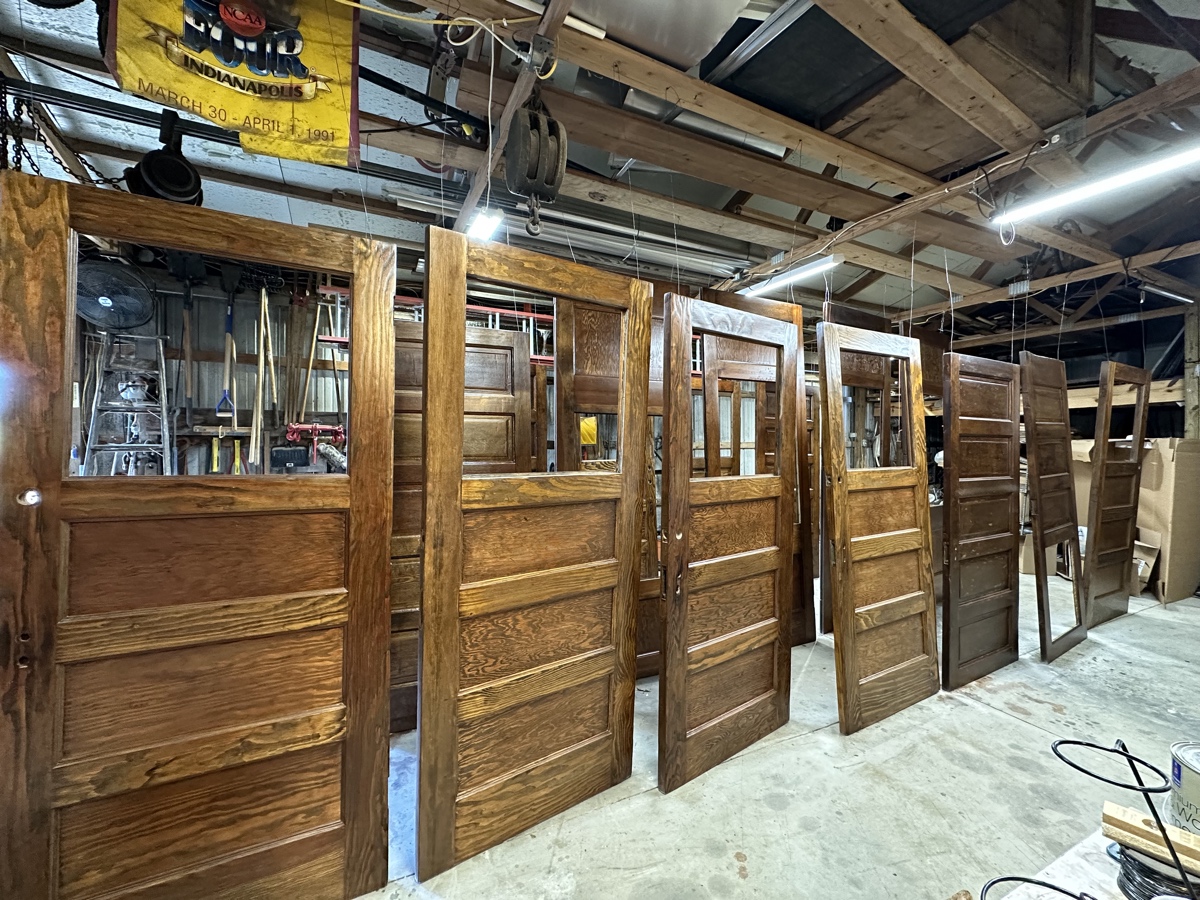
Setting up all of the doors to spray was one of the moments where I thought my dad was a total genius. We turned the barn into a full spray booth of sorts, and attached all of the doors to the barn beams with a bit of wire and some drywall screws in the top. This way it created an assembly line of sorts to spray all of the doors in a row, instead of all the stopping and starting that would come with doing them in small batches.
And so for a couple weeks, I put on 6 layers of lacquer on all the doors. Between each session I would sand out any drips, until the doors were as perfect as 100 year old school doors could be.
This was… a lot of work, but just look at the difference.

Next, I’m going to put on the flat hardware, and wrap up all the doors to get them ready to be installed in the schoolhouse!
I still need to source some new glass for some of the doors, and I need to cut to size some old slate chalkboards that I got off Facebook marketplace from an old high school in Oden, Indiana for the big Philadelphia doors. All of that will be installed in the doors once they are actually in the school so we don’t break stuff.
To see more construction updates as we turn this school into our house, follow along over on Youtube, Instagram, or TikTok! And check out the full video of these doors right here: