This post contains a few affiliate links to products I loved and used while making my floor mosaics! Things you buy through some links may earn a commission that will go straight into fixing up the schoolhouse!
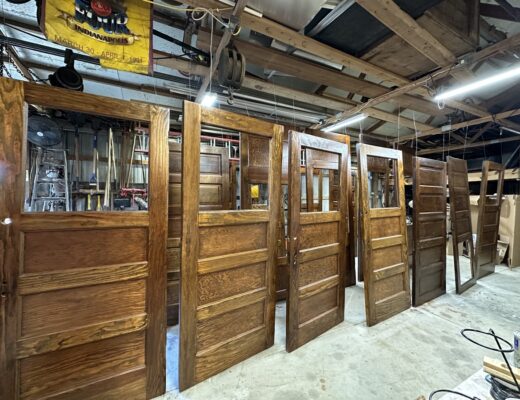
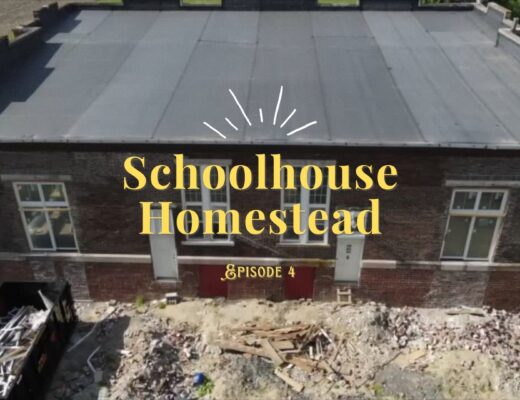
In 2021, my husband Sean and I bought a 1914 school in our hometown of Franklin, Indiana, and we’ve spent the last 2 years working to restore it into a home for our family. Besides the bones of the place, there wasn’t much left in the school that calls back to its days as a school, and we want to honor and add elements back to the school that would have felt natural for a public or municipal building from its time. I LOVE tile, and as I was walking through NYC to work one day, I saw some entrance floor mosaics and thought that it would be so fun to have one in the school.
I looked around, and custom mosaics are very, very expensive because they are so labor intensive. When I first got the idea to make a mosaic for the schoolhouse entrance, I did a TON of research and I was kind of scared to take on the project. First off it would be a lot of time, and would it all be a waste? I read so many tips and how-tos from experts and companies who sell mosaic supplies, and my thoughts after completing two 60+ hour mosaics is that seriously– anyone can do this if you are patient and have the right tools.
I spent many nights reading deep into the archives of Helen Miles Mosaics (She has a new book out, too!), and reading Joe’s blog over at Mosaic Art Supply. Joe was very helpful over email and I ordered some of my supplies from him as well.
In terms of tools you need to make a custom floor mosaic, I’ve got it divided below into two sections- 1 section for what you need to make the actual mosaic and 1 section for the grouting process.
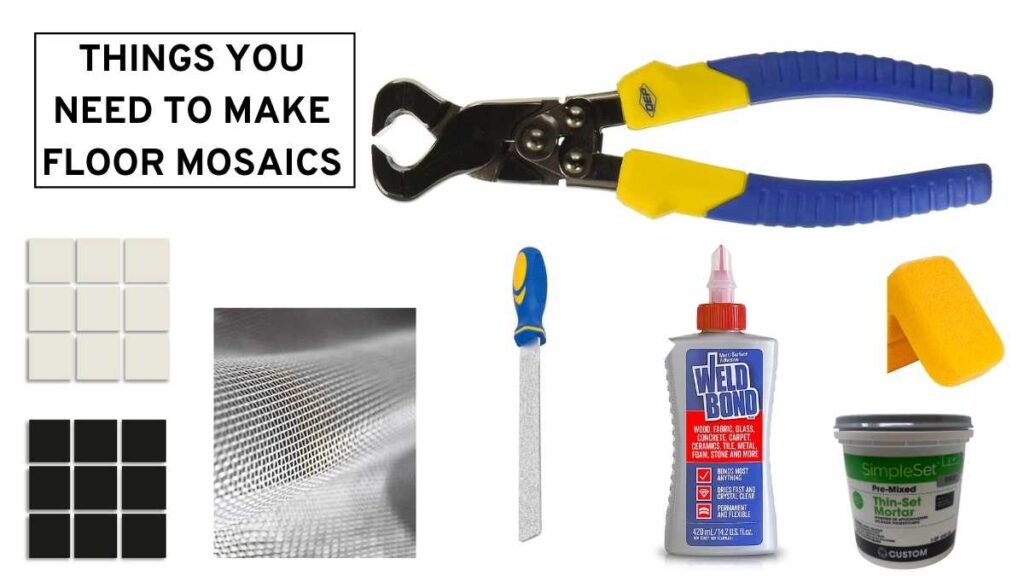
THINGS YOU NEED TO MAKE A CUSTOM FLOOR MOSAIC: The Actual Mosaic Part
- Tile, of course! You can use any kind of tile you want, but I chose some Cinca unglazed porcelain from the folks at Wit’s End Mosaic. I chose the Cinca because it is SUPER durable, it was pretty thin to cut with tile nippers. I chose tiles in black and white and I loved working with this tile. I (with help from our amazing designer Emily from Schott Design) also ended up finding the tile to go around my mosaic from American Universal Corp.
- Tile File: This helps you hone and file down pieces of tile so that they are the perfect shape when you’re making your mosaic. It also helps when you get a sharp shard to smooth it out.
- Mosaic Mesh: I made my mosaic on the mosaic mesh because I wanted to be able to do it far away from where the construction was going on at the school, this enabled me to set up a flat surface on a table and finish the mosaic, roll it up, and bring it home to Indiana where it would eventually be installed in the school! You can make your mosaic directly on a piece of wood or on the surface where your mosaic will be installed, but I found this process to be a lot easier.
- Weld Bond Glue: This glue is great. I ordered 2 bottles but you only need 1 depending on the size of your mosaic. I almost made 2 3×4 mosaics with 1 bottle.
- Tile nippers: You can find cheaper tile nippers, but I’ve found with tools that it’s better to buy the good stuff than regret it later. These are sturdy and will last me through a hundred mosaic projects.
- Tweezers: I used two different kinds, a large pair of culinary tweezers and a smaller pair of craft tweezers. This helps you pick up the tile, get a dab of glue on it, and precisely place it where you need on the mosaic mesh.
- Saran wrap and tape: This helps you see your design underneath the mosaic mesh, and you can just separate the mesh from the saran wrap once you’re done gluing!
For finishing and installing the tile mosaic: So I plan to have my mesh-backed mosaic installed by the professional who is installing the tile in the schoolhouse, but if you want to finish your own mosaic yourself, you’ll need some thinset mortar/grout, a sealant depending on your type of tile, some gloves, and a sponge. I’ll update this post once I have this process documented!! But you can find more info about finishing a mosaic on Joe’s blog over at Mosaic Art Supply. And you can follow along on Instagram to get updated as soon as I have more photos of the process.
Step-by-Step Guide on Making a Custom Floor Mosaic:
Step 1: Choose your design. First you want to come up with your design of your mosaic. Some people simply draw out a design on their mosaic mesh, but I wanted something very precise. I made a floor logo in Canva, and then printed it off enlarged on my printer. I then double checked that it looked to be the right size with feet as you’re walking on it.
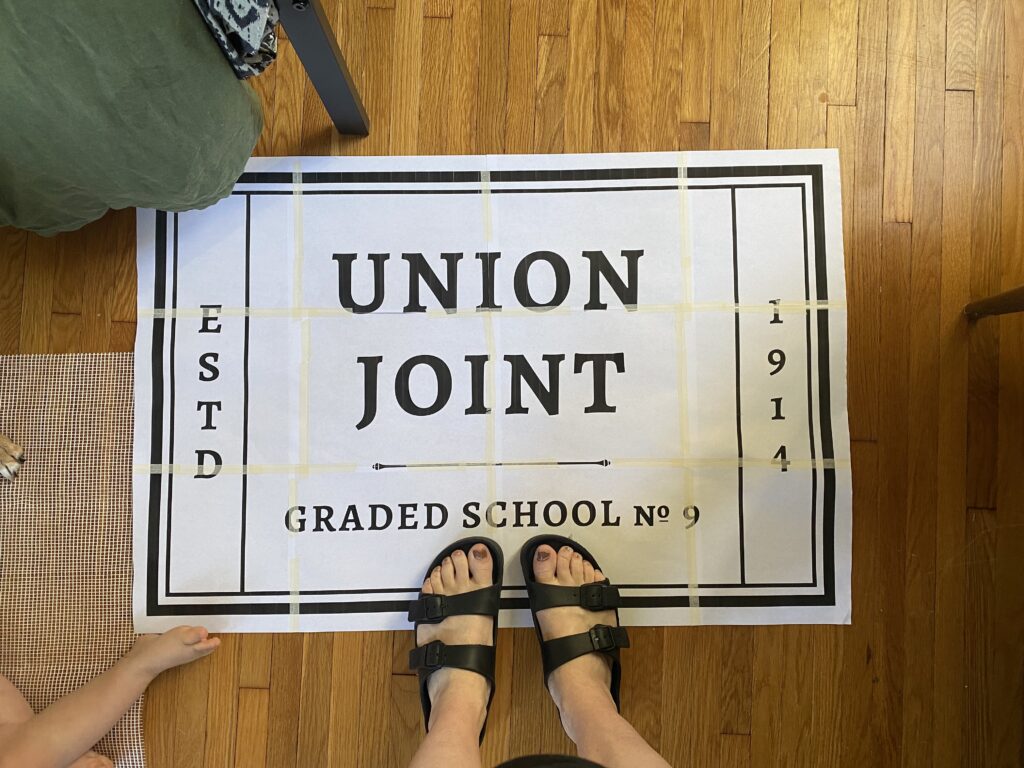
Step 2: Prep your surface. Next I put my design on a flat surface, taped it to the surface, and then taped saran wrap on top of the design. Then I taped my mosaic mesh on top of both, and taped that in place with some clear packing tape. It helps if you have some excess mesh so that you have wiggle room for tape and if things fray a bit.
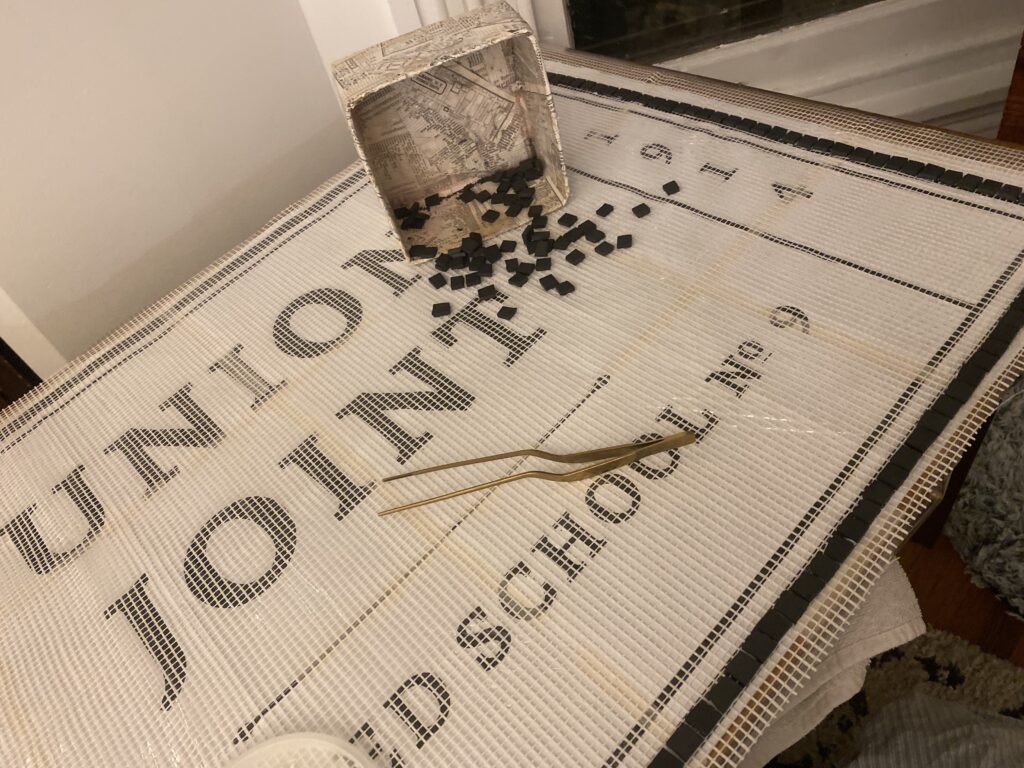
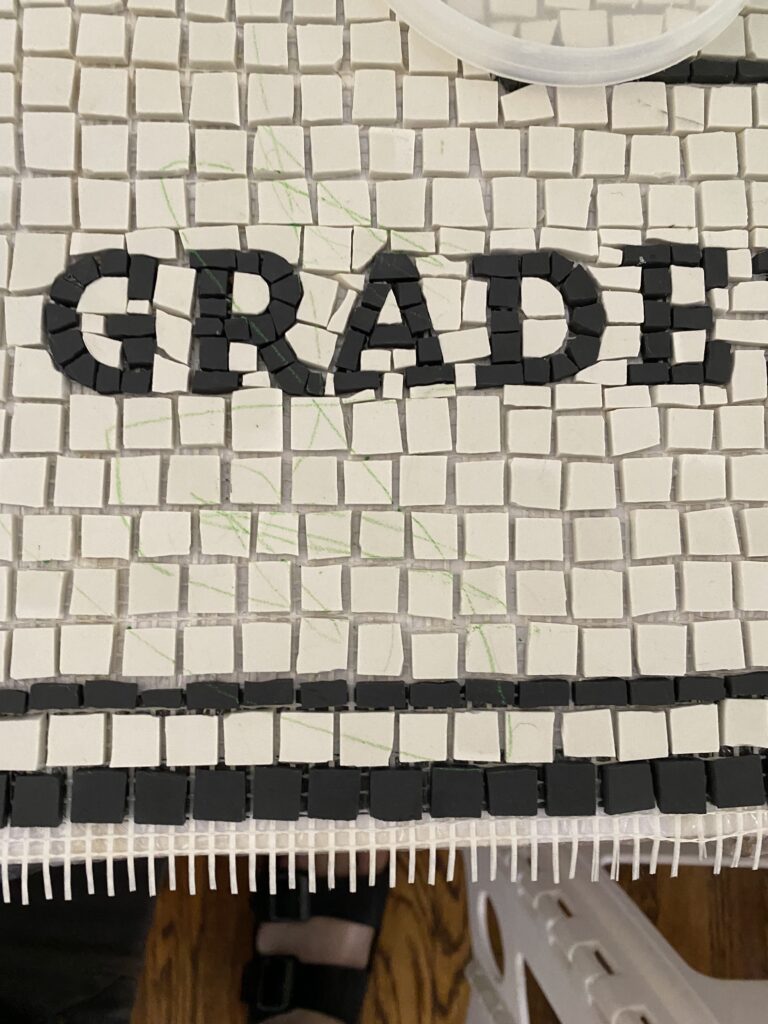
Step 3: Nipping and cutting. At this point, you’re ready to get going! I bought 1″ by 1″ unglazed porcelain tile, but I really like the look of smaller mosaics. So I painstakingly cut every single 1″ tile into quarters. I like the organic look of the tiles not all being exactly the same, it makes things more forgiving when you’re trying to cut the letters and also put tiles around the letters.
For cutting odd shapes, sometimes you won’t get a perfect line when you’re nipping tiles, and I’ll just save everything that is wonky for use around the letters. Basically mosaic making is a lot like a giant puzzle, that you get to keep FOREVER. 🙂 If you need a really specific shape, it’s helpful to just keep nipping around until you get your desired shape. Or, you can use your tile file to hone something into shape. Below I made a little video showing the different ways you can cut the tile into different shapes.
Step 4: Gluing! For gluing, you want to use enough glue to make sure your tile sticks to the mesh and doesn’t pop off, but you also don’t want your glue popping up the sides at ALL because that gives less surface area for the grout to stick and keep everything in place. I would pick up my tiles with the tweezers, dip them in a little dollop of glue, and then dab the tile a bit to remove any excess glue. This is about how much glue I’d have on each of my little tiles.
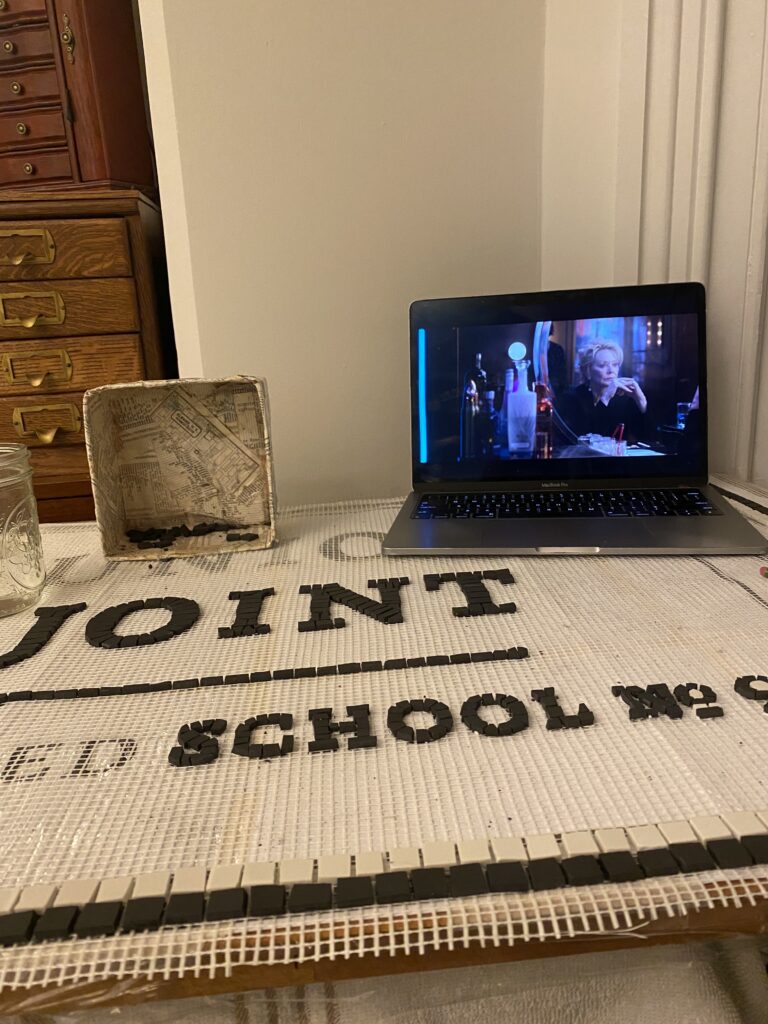
And that’s about it in terms of process- for the most part once you get the hang of it, it’s an amazing task where you can watch TV, listen to a book, zone out and do your mosaic tile puzzle.
Just make sure to watch your toddler around it… Luckily I was using tiles that are basically indestructible, so this wipes off easily.
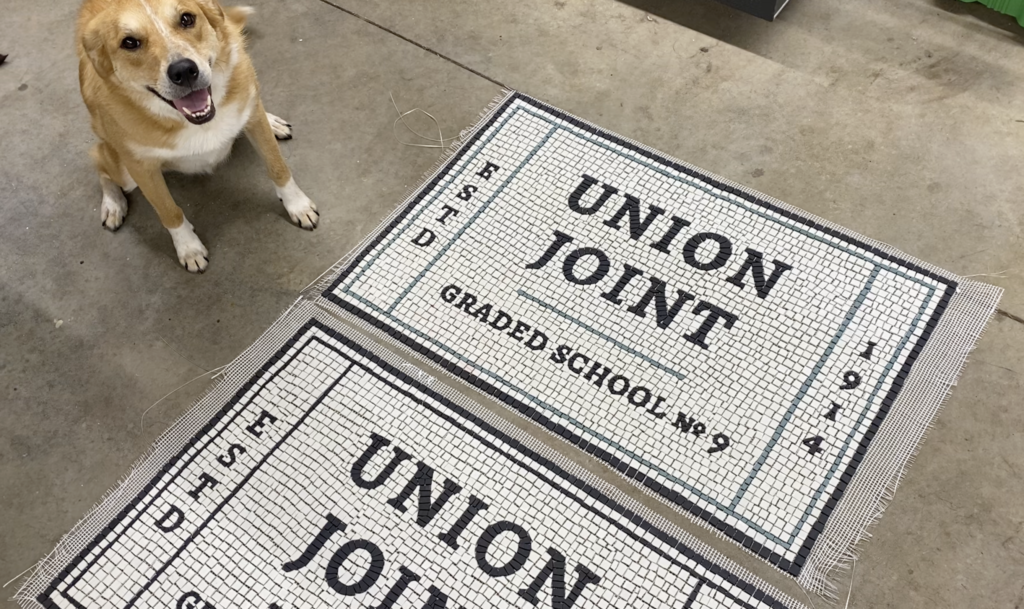
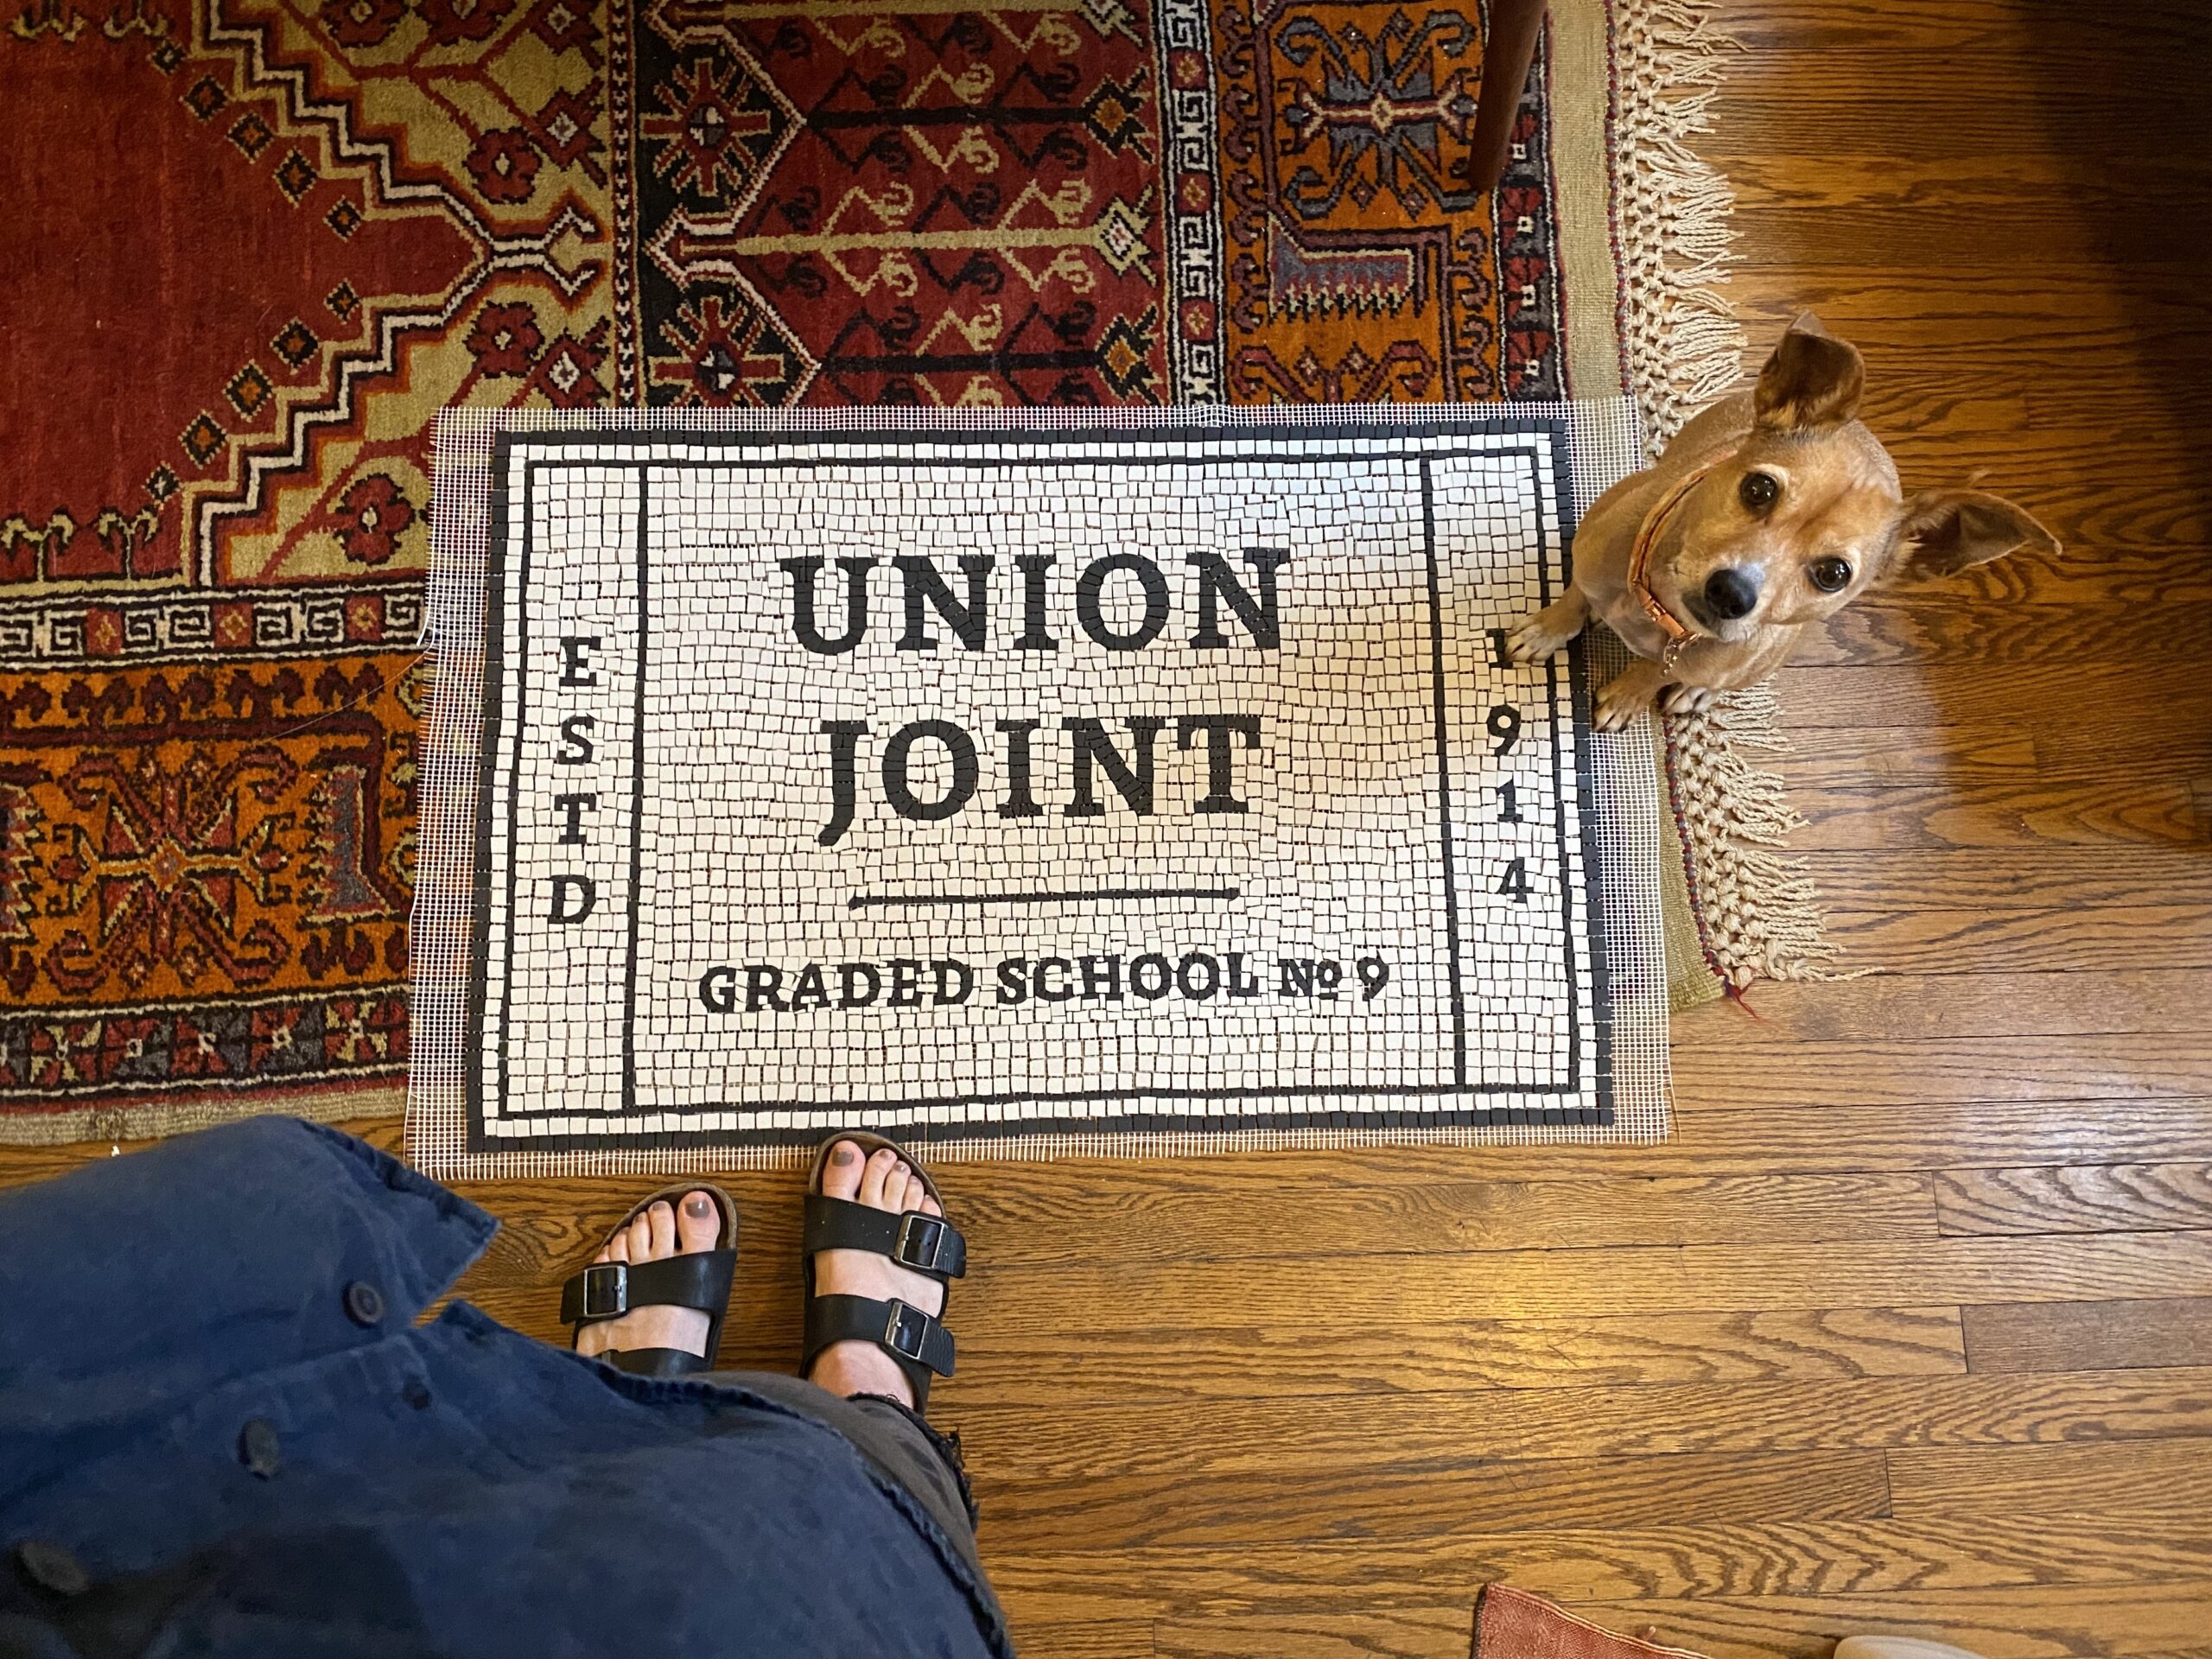
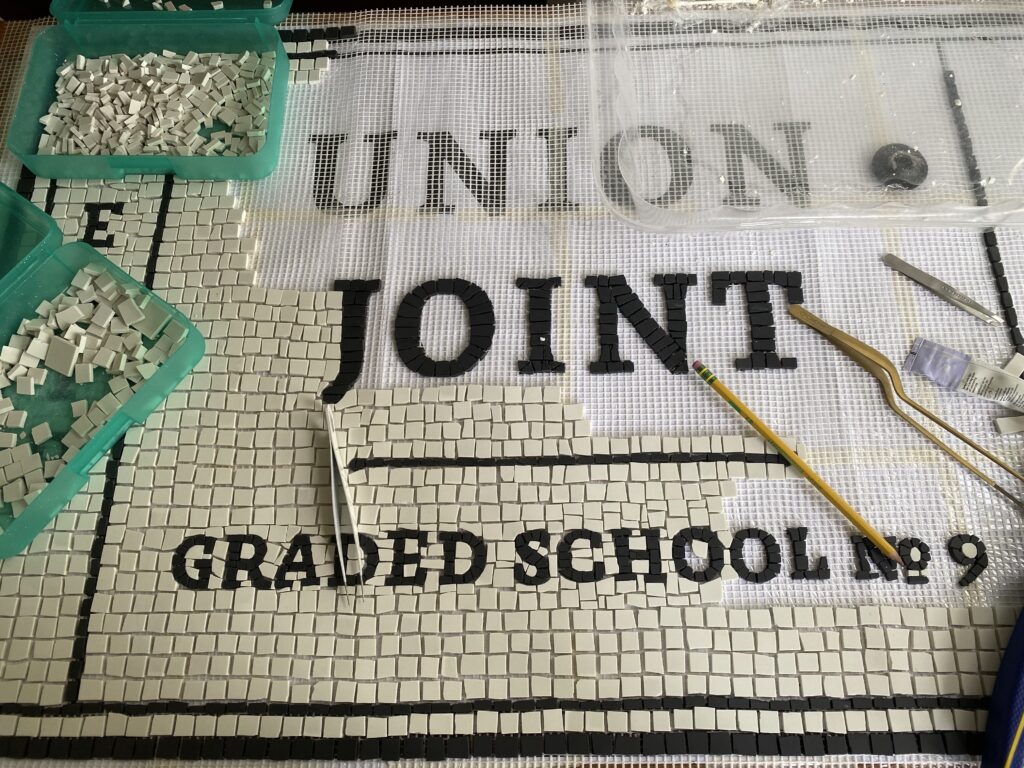
And here’s what my two floor mosaics look like completed. I’ll update this post whenever we finally get them installed in the school!